


Guide to Deep Cleaning & Organising your Kitchen Cupboards – Spring Edit
The Ultimate Guide to Deep Cleaning and Organising Your Kitchen Cupboards
Our kitchens often serve as the heart of our homes, they’re also prime real estate for accumulating clutter and hidden grime. From forgotten spices to mismatched Tupperware, kitchen cupboards can quickly become chaotic zones. But fear not! A dedicated deep clean and reorganisation isn’t just about aesthetics; it’s about creating a more functional, efficient, and enjoyable cooking space.
Ready to transform your kitchen from chaotic to culinary heaven? Grab your cleaning supplies, a few empty boxes, and let’s dive into this comprehensive guide!

How to Deep Clean your Kitchen Cupboards – Spring Edition
Phase 1: The Grand Emptying & Ruthless Declutter
This is where the magic begins – and it might get a little messy before it gets better!
Step 1: Empty Absolutely Everything Out! Yes, everything. One cupboard at a time, or if you’re feeling ambitious and have the space, clear out all your cupboards, pantry, and drawers onto your countertops, dining table, or even the floor. Seeing everything laid out helps you grasp the true volume of your kitchen wares and identify duplicates or forgotten items.
Step 2: The “Keep, Donate/Sell, Toss” System As you take each item out, make immediate decisions. Be honest with yourself and ask:
- Do I use this regularly (at least once a year)?
- Is it broken, chipped, or stained beyond repair?
- Do I have duplicates of this item? (How many spatulas does one truly need?)
- Does it spark joy or serve a real purpose in my cooking?
Based on your answers, sort items into these piles:
- Keep: These are your go-to essentials, beloved gadgets, and items that are in good condition and regularly used.
- Donate/Sell: Items that are still perfectly good but you no longer need or want. Think extra serving dishes, appliances you rarely use, or that pan you never quite loved. Local charities, op-shops, or online marketplaces are great options.
- Toss/Recycle: Broken items, expired food, empty containers, or anything that’s simply beyond saving. Check local recycling guidelines for plastics, glass, and metals.
Step 3: Check Expiration Dates (Especially in the Pantry!) This is crucial for food items. Spices lose their potency, oils can go rancid, and even canned goods have a shelf life. Be diligent!
Phase 2: The Deep Cleanse
With your cupboards empty, now’s the perfect time to give them a thorough scrub.
Step 1: Vacuum Up Loose Debris Before wiping, use your vacuum cleaner’s hose attachment to suck up crumbs, dust, and any stray bits that have accumulated in corners and along edges.
Step 2: Wipe Down Surfaces
- Inside Cupboards: Use an all-purpose cleaner or a solution of warm water and a few drops of dish soap. For stubborn grease, a solution of warm water and white vinegar (equal parts) works wonders, especially on the insides of cupboards near the stovetop. Wipe down shelves, backings, and the inside of doors.
- Outside Cupboards: Pay attention to fingerprints, grease splatters, and general grime. The best cleaner depends on your cabinet material:
- Laminate/Melamine: All-purpose cleaner or soapy water.
- Painted Wood: Mild dish soap and water, or a specialized wood cabinet cleaner. Avoid abrasive cleaners.
- Wood/Veneer: A gentle wood cleaner or a solution of warm water and a tiny bit of mild dish soap, followed by a dry cloth. You can also use a mixture of olive oil and white vinegar (2:1 ratio) to clean and condition.
- Stainless Steel: Use a stainless steel cleaner and wipe with the grain to avoid streaks.
- Hardware: Don’t forget to wipe down handles and knobs. For very greasy or sticky hardware, you might need to remove them and soak in hot soapy water, then scrub with an old toothbrush.
Step 3: Tackle the Details
- Backsplashes: Clean any splatters or grease.
- Kickboards/Baseboards: These often get overlooked but can collect dust and spills. Wipe them down.
- Under the Sink: This area is notorious for leaks and forgotten items. Clean out any old cleaning supplies, wipe down the base, and check for any signs of water damage.
Step 4: Air Out & Dry Thoroughly Leave cupboard doors open for a while to allow them to air dry completely before you start putting items back. This prevents moisture build-up and musty smells.
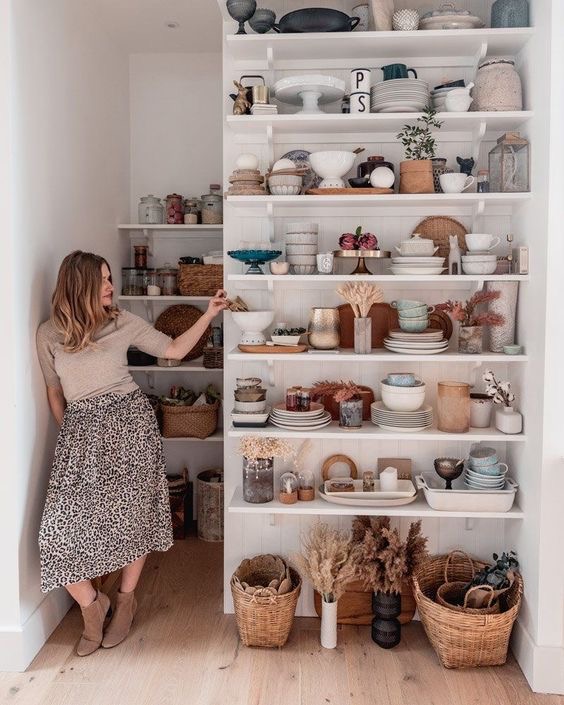
Phase 3: The Smart Reorganisation
Now for the rewarding part: putting everything back in a way that makes sense and enhances your kitchen’s efficiency.
Step 1: Zone Your Kitchen Think about how you use your kitchen. Group similar items together and store them where they’re most logically accessed.
- Cooking Zone (near the stove): Pots, pans, baking sheets, cooking utensils (spatulas, ladles), cooking oils, common spices.
- Prep Zone (near cutting board/main counter space): Knives, cutting boards, mixing bowls, measuring cups, prep tools.
- Baking Zone (if you bake often): Flour, sugar, baking soda/powder, extracts, baking pans, cookie cutters.
- Dining/Serving Zone (near the dining area): Plates, bowls, glasses, mugs, serving dishes, cutlery.
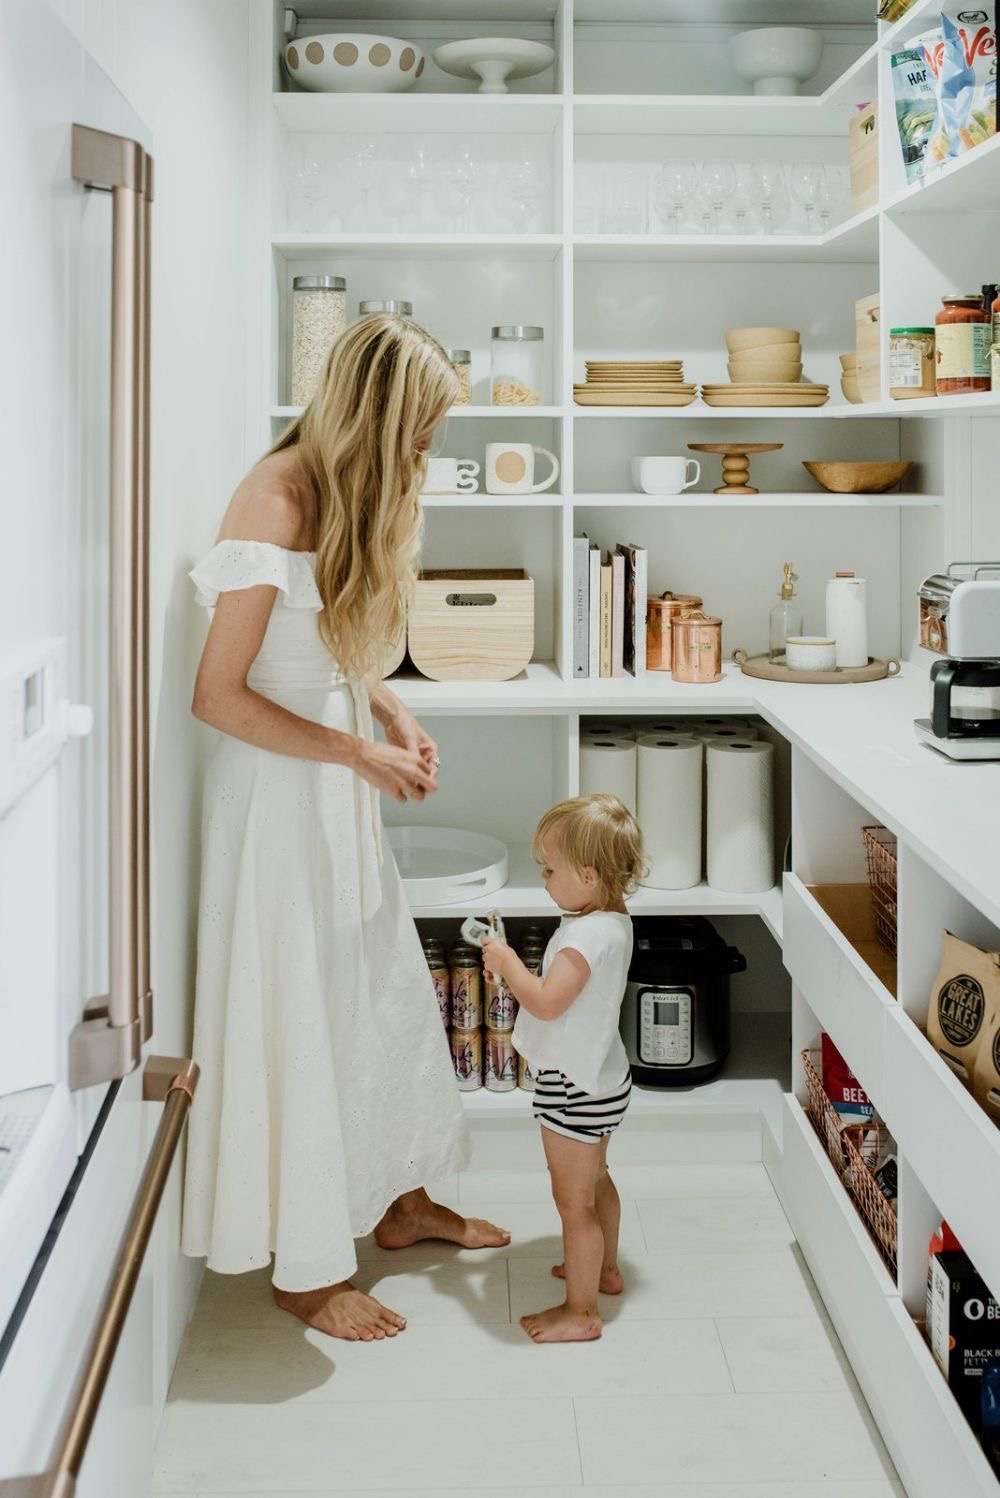
- Food Storage Zone (pantry): Canned goods, dry goods, snacks, rarely used appliances.
- Cleaning Zone (under the sink): Dish soap, sponges, cleaning sprays, trash bags.
Step 2: Implement Storage Solutions (Smartly!) Now that you know what you’re keeping and where it goes, consider these organizing tools:
- Shelf Risers/Expandable Shelves: Maximize vertical space, especially in tall cupboards for plates, bowls, or cans.
- Drawer Dividers/Organisers: Essential for cutlery, utensils, and smaller gadgets to prevent them from becoming a jumbled mess.
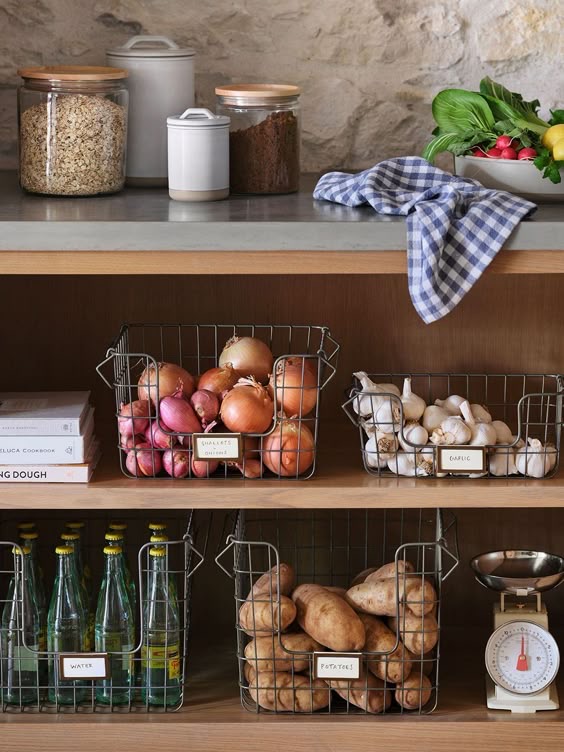
- Pull-Out Organisers/Slide-Out Baskets: Fantastic for deep lower cabinets, making items at the back easily accessible.
- Turntables (Lazy Susans): Perfect for corner cabinets or for organizing oils, condiments, or spices in a pantry.
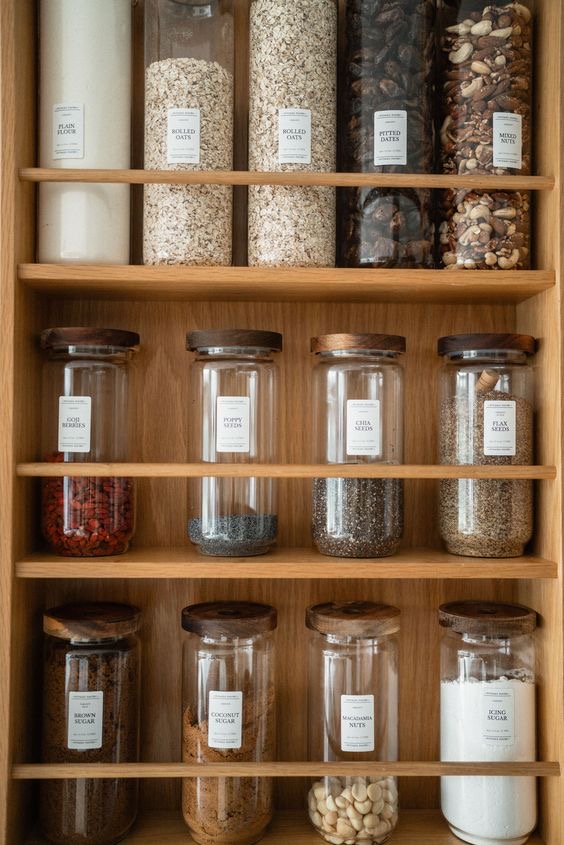
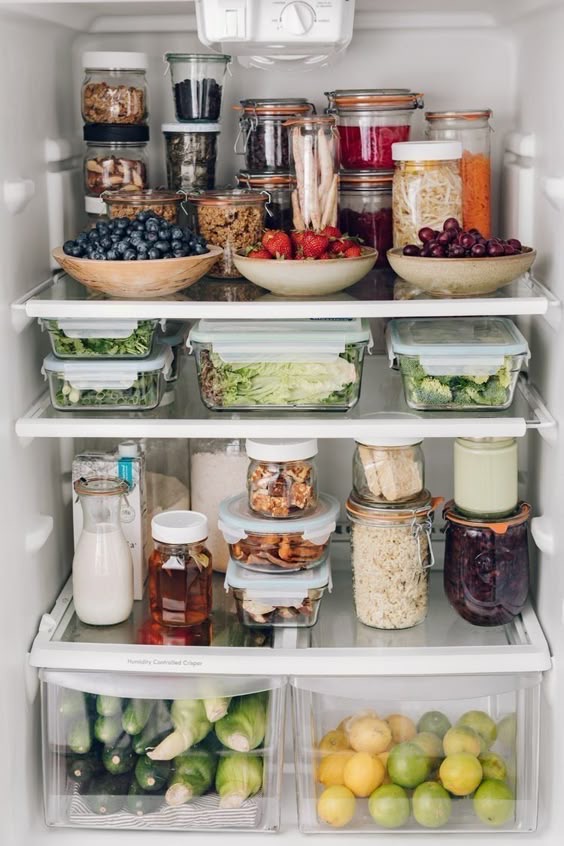
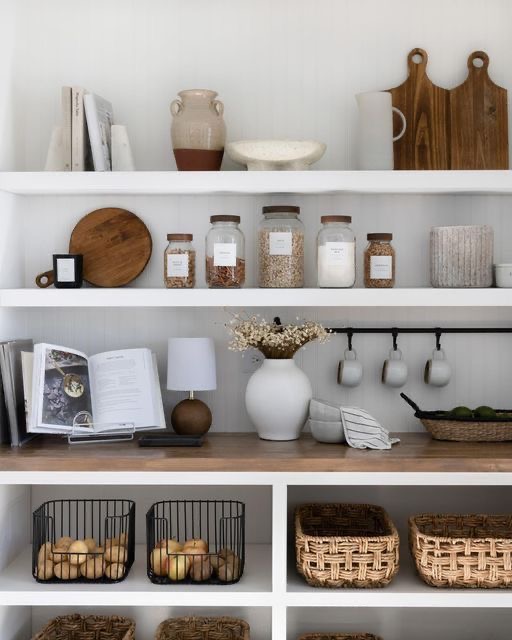
- Clear Containers: For dry goods (pasta, rice, flour, sugar, cereals). They keep food fresh, make it easy to see what you have, and create a cohesive look. Square containers are best for maximizing space.
- Lid Organisers: A godsend for keeping food storage container lids from running wild!
- Pot & Pan Organisers: Store lids separately or use vertical racks to keep pans neatly stacked.
- Command Hooks/Adhesive Hooks: Use on the inside of cupboard doors for measuring spoons, oven mitts, or lightweight cleaning tools.
Step 3: Strategic Placement – Putting It All Back
- Everyday Items at Eye Level: Store the items you use most frequently at easily accessible heights.
- Heavy/Bulky Items Down Low: Pots, pans, small appliances, and large mixing bowls are best stored in lower cabinets.
- Less Used Items Up High: Seasonal items, entertaining platters, or backup supplies can go on higher shelves.
- Decant Where Possible: Transfer flours, sugars, pasta, and cereals into airtight clear containers. Not only does it look tidy, but it also helps keep pests out and food fresh.
- Vertical Storage: Store cutting boards, baking sheets, and shallow trays vertically using tension rods or dividers.
- Stack Smarter: Nest bowls and stack plates carefully. Don’t stack too high to avoid toppling.
Step 4: Label, Label, Label! Once items are in containers or in their new zones, consider labeling. This is especially helpful for opaque containers or if multiple people use the kitchen. It saves time and ensures everything gets returned to its proper place.
Maintaining Your Organised Kitchen
A deep clean and reorganisation is a significant effort, but the payoff is immense. To keep your kitchen sparkling and functional:
- Implement a “One In, One Out” Rule: When you buy a new kitchen gadget or serving dish, consider if there’s an old one you can donate or discard.
- Regular Tidying: Take 5-10 minutes each day to put things back in their proper place.
- Weekly Wipe-Downs: Quick wipe of countertops and stovetop after cooking.
- Monthly Mini-Declutter: A quick scan of your pantry and fridge for expired items.
- Be Mindful of Accumulation: Resist the urge to buy unnecessary gadgets or more containers than you need.
Deep cleaning and organising your kitchen cupboards might seem like a daunting task, but by breaking it down into manageable phases, you’ll be amazed at the transformation. Not only will you discover forgotten treasures and discard unused clutter, but you’ll also create a kitchen that is a joy to cook in, a pleasure to look at, and truly the functional heart of your home. Happy organising!
What’s your secret weapon for keeping kitchen cupboards organised? Share your tips in the comments below!
————————————–
Do you live in Brisbane? Before investing your time in cleaning try our cleaning service. Our deep spring cleaning can help out by cleaning, decluttering and organising your home to prep it for a more regular domestic cleaning service. We also provide apartment cleaning, bond cleaning, pre-sale cleaning, carpet cleaning and many other cleaning services in Brisbane.
If the thought of cleaning is just too much call our Nest Cleaners and we would love to help!
BOOK NOW: Call 0438 079 996 OR Online Estimate with Nest Cleaning in Brisbane, Australia

