


Tips to help with making sure your new home is hygienically clean before you move in.
Cleanliness is an important part of a healthy life, and it is especially important when moving into a new home. Here are some tips to help make sure your home is hygienically clean before you move in:
Move-In Ready: Top Tips for a Hygienically Clean New Home
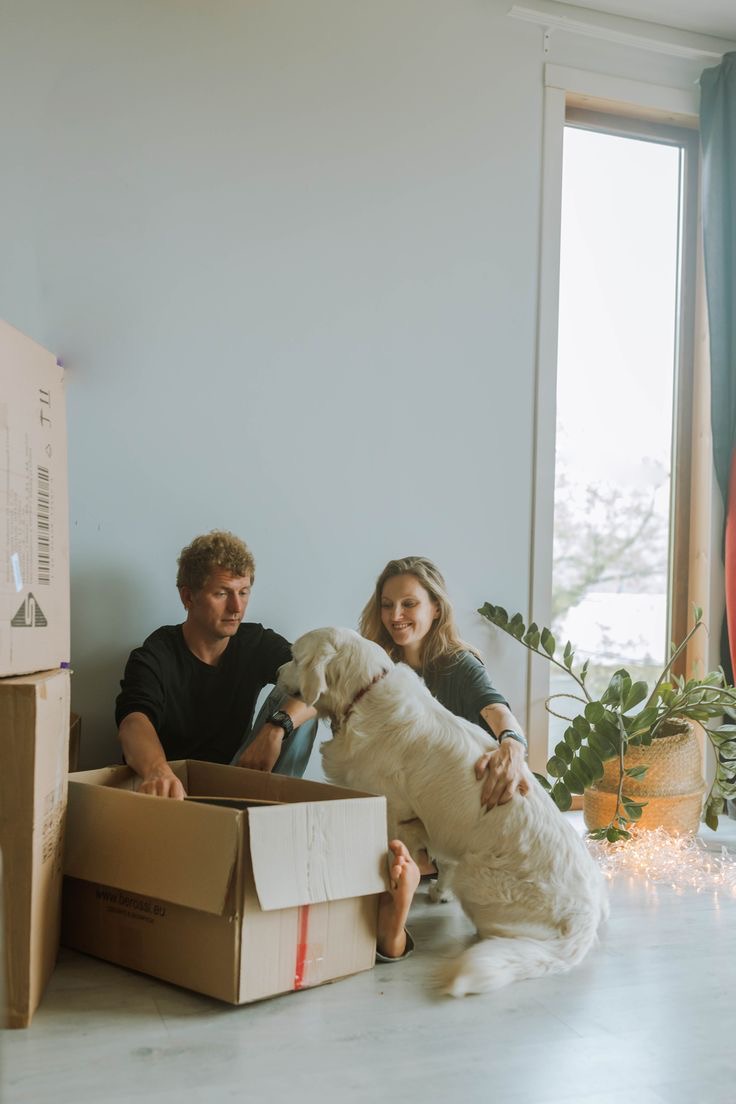
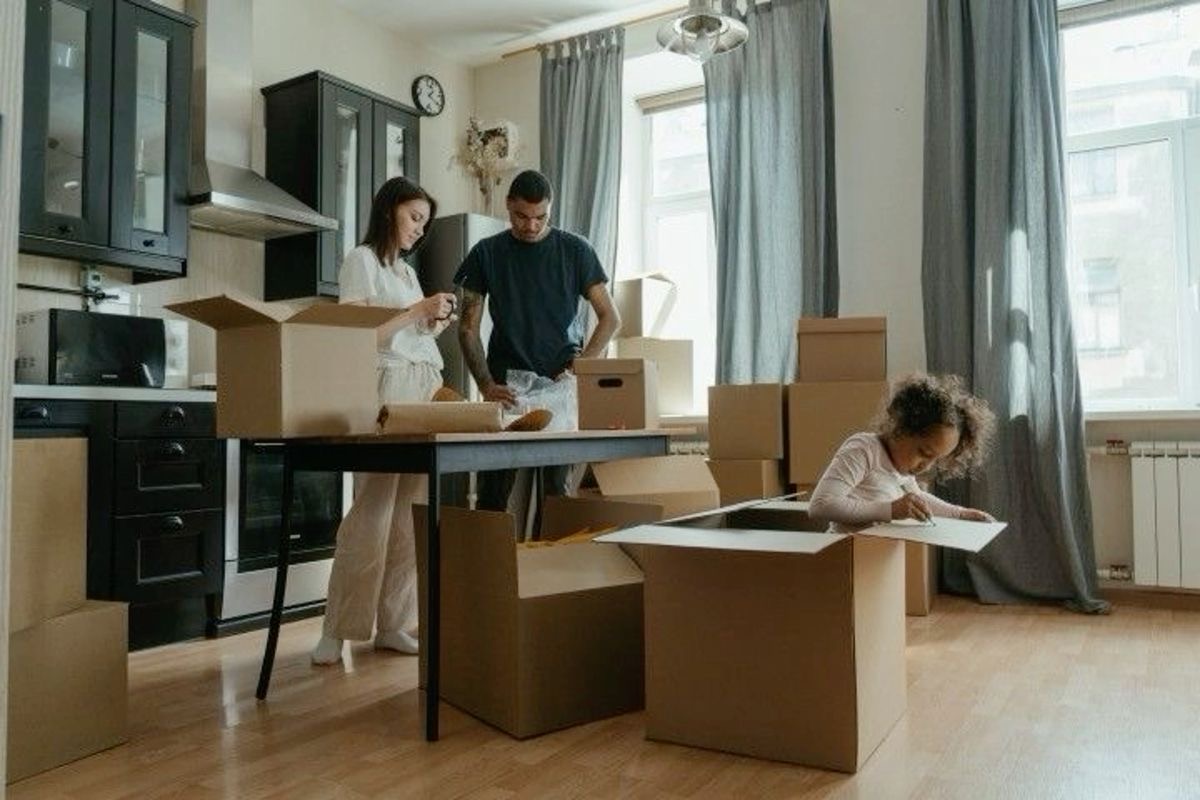
Moving into a new home is exciting! But before you unpack those boxes and settle in, taking the time to ensure your new space is hygienically clean is crucial for your health and well-being. No one wants to inherit someone else’s dust bunnies or germs! Here are some essential tips to make sure your new home is sparkling and safe from day one.

How to make sure your new home has is hygienically clean prior to moving in.
Why is Pre-Move-In Cleaning So Important?
Even if your new home looks tidy, there could be hidden dirt, allergens, and bacteria lurking. Previous occupants leave behind skin cells, pet dander, and various microorganisms. A thorough deep clean before moving in is not just about aesthetics; it’s about creating a truly hygienic home environment. This proactive step helps prevent the spread of germs, reduces allergy triggers, and gives you a fresh start.
Your Essential Pre-Move-In Cleaning Checklist:
1. Start with the “Big Stuff” – Empty and Accessible
It’s infinitely easier to clean an empty house! Before your furniture arrives, you have the advantage of reaching every nook and cranny.
- Dusting from Top to Bottom: Begin by dusting all surfaces, starting from the highest points (ceiling fans, light fixtures, tops of cabinets) and working your way down. This ensures that dust settles downwards, making subsequent cleaning more effective. Don’t forget door frames, window sills, and skirting boards.
- Walls and Baseboards: Walls can accumulate surprising amounts of grime. Use a damp cloth with a mild all-purpose cleaner to wipe down walls, especially in high-traffic areas like hallways and kitchens. Pay extra attention to sanitation around light switches and door handles.
- Windows and Blinds: Clean windows inside and out for maximum natural light. For blinds, a quick wipe-down or vacuuming will suffice. If they’re particularly grimy, consider removing and washing them.
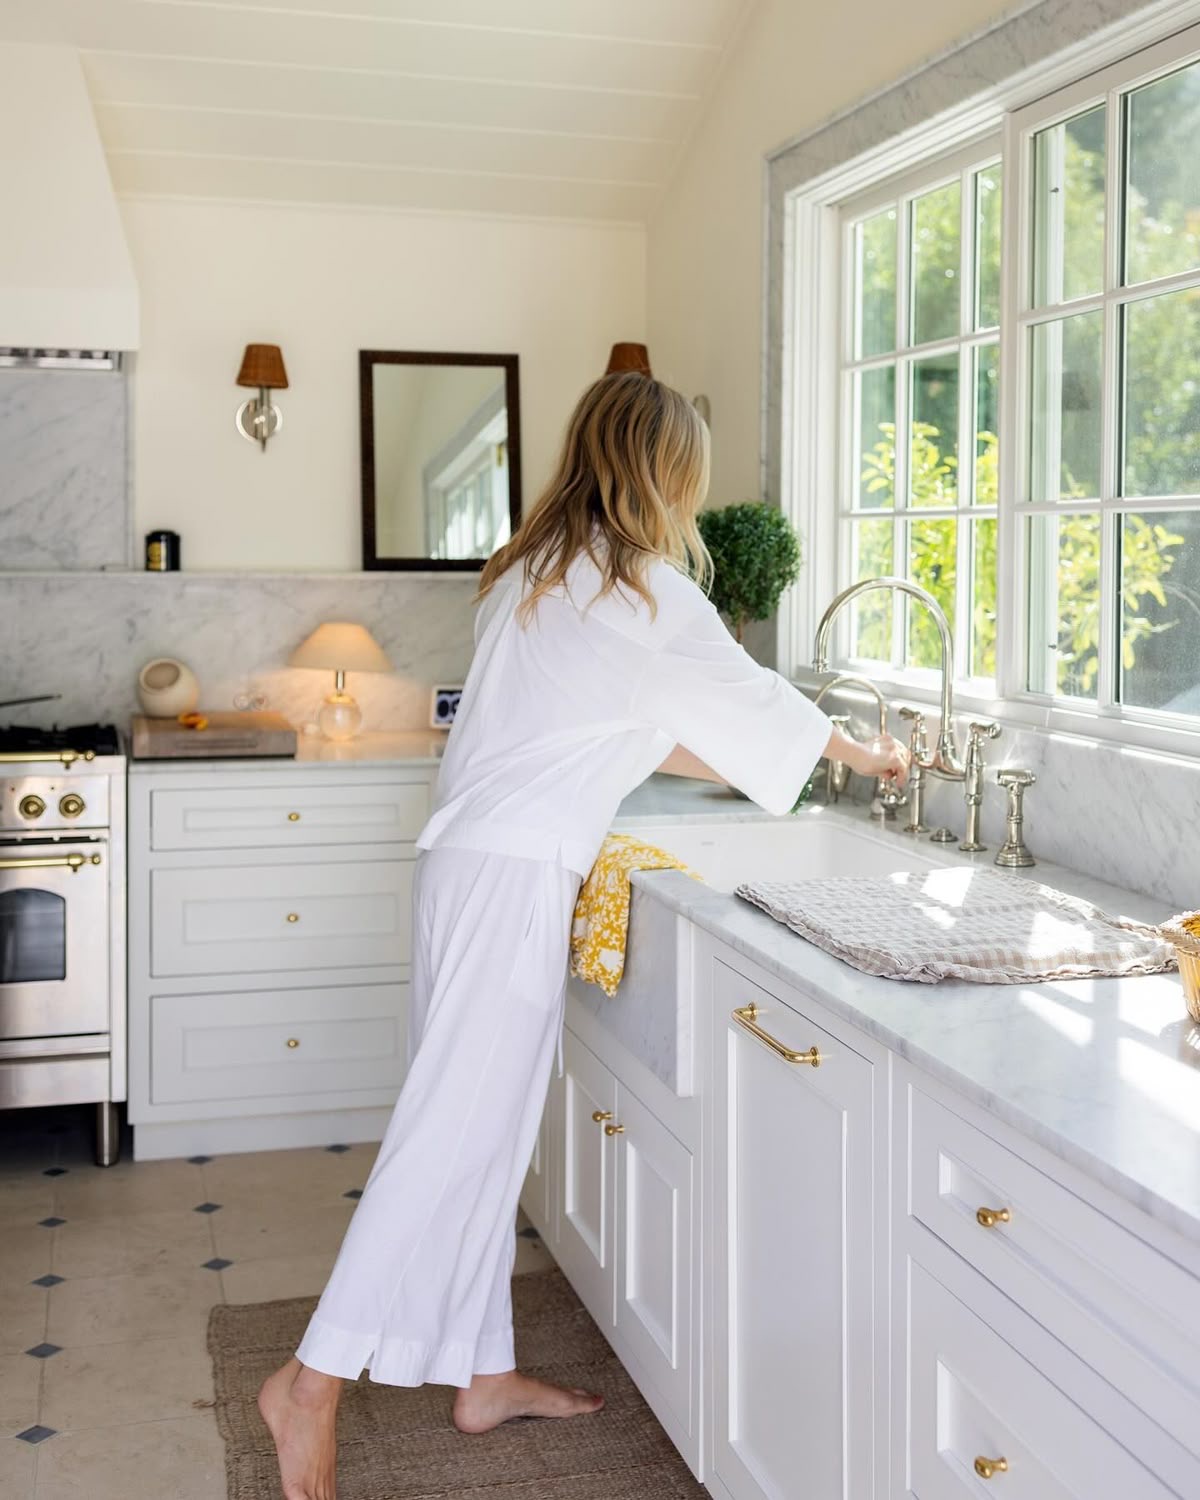
2. Kitchen & Bathroom: Germ Hotspots Demand Extra Attention
These areas are critical for a truly germ-free home.
- Kitchen Deep Clean:
- Appliances: If appliances are included (oven, refrigerator, dishwasher), give them a thorough scrub. Use oven cleaner for baked-on grime. Empty and disinfect the refrigerator and freezer. Wipe down the microwave inside and out.
- Cabinets and Drawers: Empty all cabinets and drawers, then wipe them down with a disinfectant cleaner. This is also a great time to line them with fresh shelf liners.
- Countertops and Sink: Sanitize all countertops. For the sink, use a strong disinfectant, especially around the drain.
- Floors: Mop and disinfect all hard flooring.
- Bathroom Brilliance:
- Toilet, Sink & Shower/Bathtub: Use dedicated bathroom cleaners with disinfectant properties. Scrub thoroughly, paying close attention to grout and caulk lines to tackle mold and mildew.
- Mirrors and Fixtures: Clean mirrors with a streak-free glass cleaner and polish all chrome fixtures.
- Ventilation: Clean out exhaust fan covers to improve air quality.
3. Flooring: The Foundation of Cleanliness
Whether you have carpets or hard floors, a thorough clean is essential.
- Carpets: If possible, have carpets professionally steam cleaned. This is the most effective way to remove embedded dirt, allergens, and odors, contributing significantly to a healthy home. If professional cleaning isn’t an option, a good quality carpet shampooer can make a big difference.
- Hard Floors: Vacuum or sweep thoroughly, then mop with a suitable cleaner for your flooring type (tiles, timber, laminate). For extra hygiene, consider using a steam mop.
4. Don’t Forget the Often-Missed Spots:
- Light Switches and Doorknobs: These are high-touch surfaces and can harbor a lot of germs. Wipe them down with a disinfectant.
- Vents and Registers: Dust and vacuum all air vents and return registers.
- Laundry Room: Wipe down the washer and dryer exteriors. Clean out the lint trap.
DIY vs. Professional Cleaning: Which is Right for You?
- DIY Cleaning: If you have the time, energy, and the right supplies, a DIY cleaning approach can be very effective and cost-efficient. Focus on using quality disinfectant cleaners and follow instructions carefully.
- Professional Cleaning: For a truly comprehensive and worry-free experience, consider hiring professional cleaners. They have industrial-grade equipment and expertise to tackle even the toughest grime, ensuring your home is impeccably clean and sanitised. This is particularly recommended if the previous occupants had pets, smoked, or if the property has been vacant for a long time.
Final Touches for a Fresh Start
Once the deep cleaning is complete, open windows to air out the space. Consider placing bowls of baking soda or activated charcoal in rooms to absorb any lingering odours.
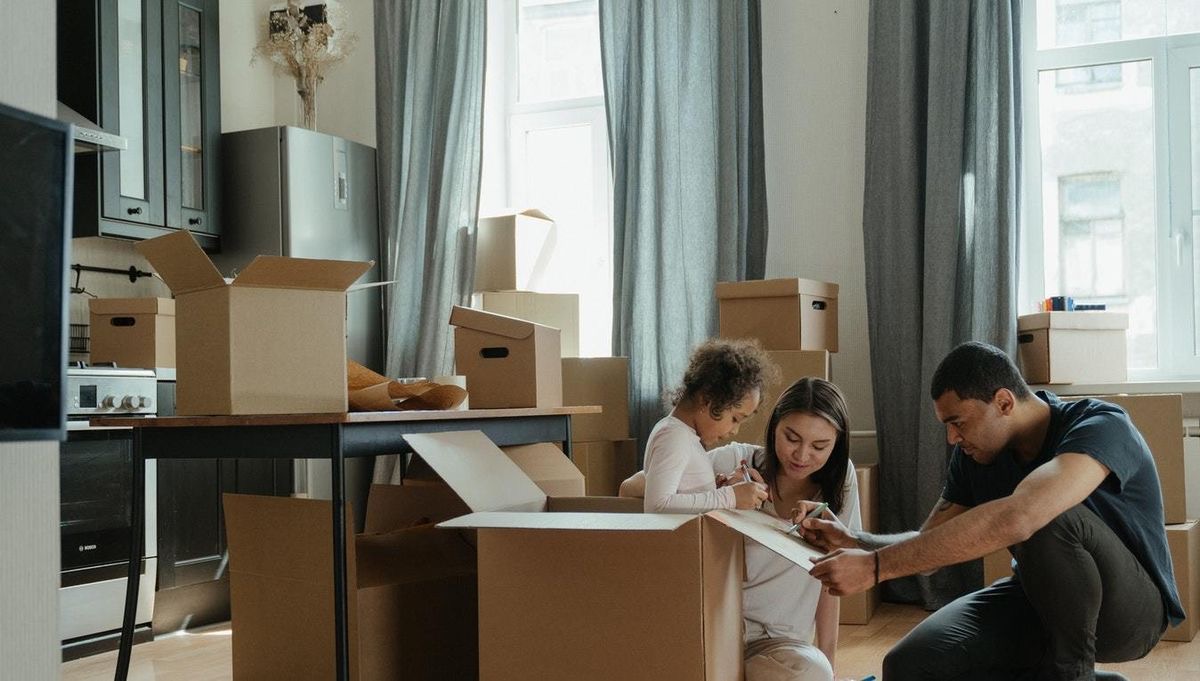
By following these move-in cleaning tips, you’ll be able to unpack your belongings into a genuinely hygienic home, ensuring a healthy and happy start to your new chapter. Happy moving!
Do you live in Brisbane? Before investing your time in cleaning mind set tips try our cleaning service. Our Spring Clean can help by cleaning, decluttering and organising your home to prep it for a more regular cleaning service. We also provide apartment cleaning, bond cleaning, pre-sale cleaning, carpet cleaning and many other cleaning services in Brisbane.
If the thought of cleaning is just too much call our Nest Cleaners and we would love to help!
BOOK NOW: Call 0438 079 996 OR Online Estimate with Nest Cleaning in Brisbane, Australia

